
For this project you will need;
2-2,5 kg of yarn
2 sock-knitting needles in a fitting size
 |
| 3 poufs, finally finish |
 |
| 2 poufs |
 |
| 2 poufs - close-up |
 |
| The first pouf. |
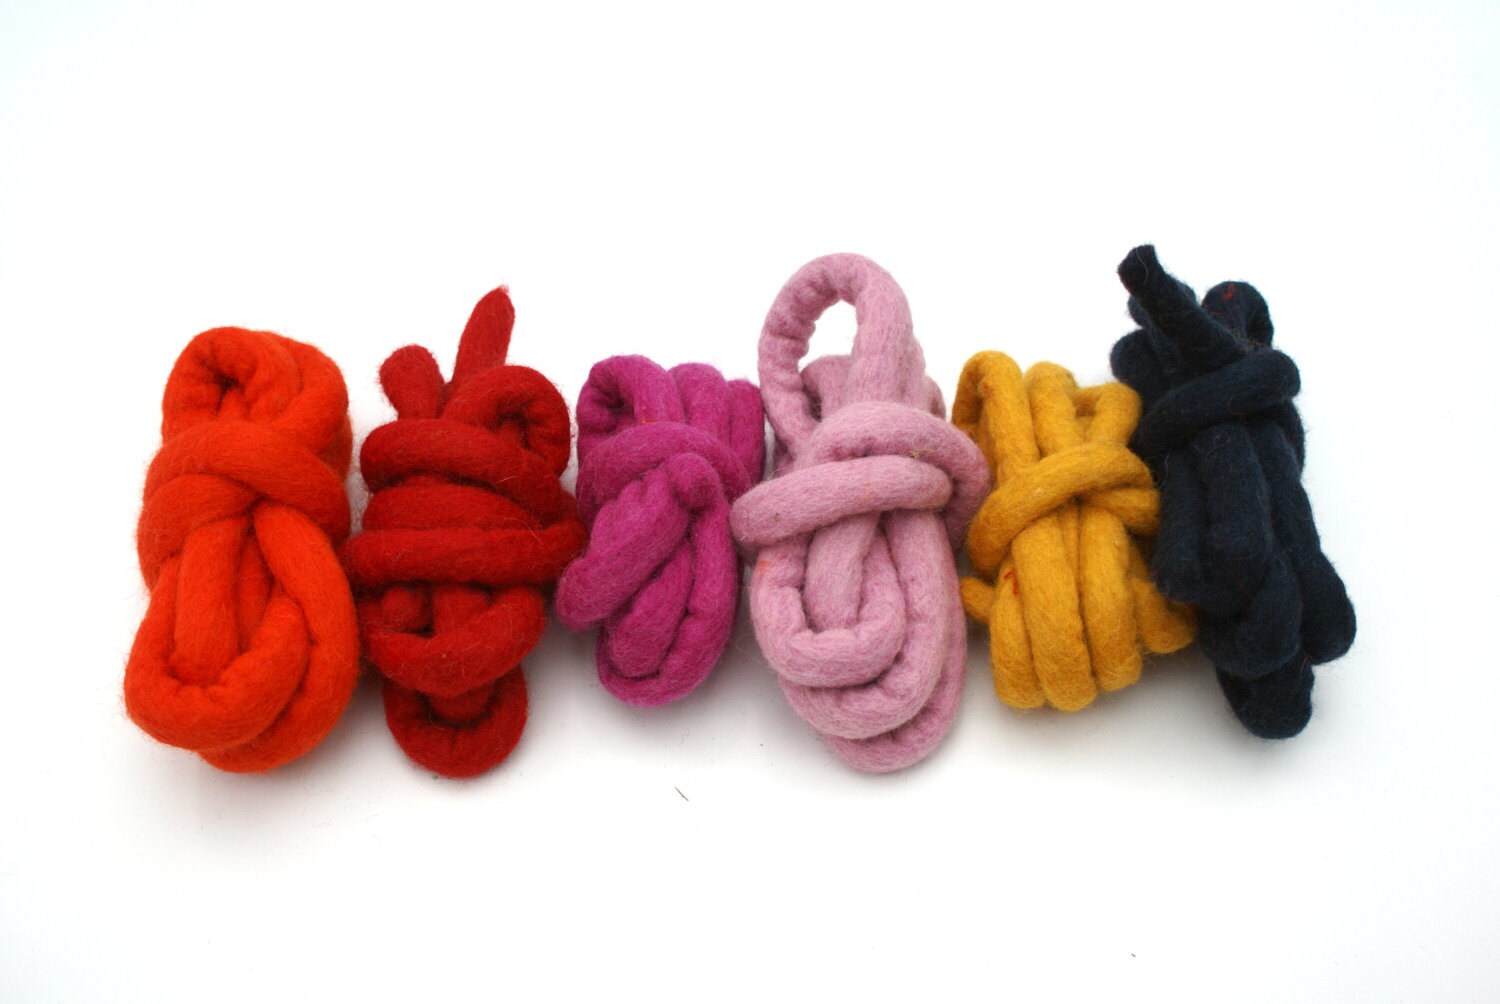
I have made all my poufs using industrial grades wool or wool-mixes. I have bought them all in the salvation shop or at factory outlets and they had no brand-names so I cannot share. But what I go after is "hard" wool, wool that has not been through softening processes and is maybe even mixed with some polyester to make it tough. I think I have used carpet-yarn, furniture-yarn or weaving-yarns. I use yarns that knit on needles 3,5mm - 5mm. I promise that if somebody finds a brand-name that I will share it with you all here.

If you cannot get hold of this kind of yarn or you are lazy you can also buy very thick wool (rather expensive) or cord and consequently skip step 2 - making a cord.
The Norwegan Pickles sell a very thick yarn that can be used for a pouf; Pickles fat and happy.
You can use Zpaghetti, cut up old t-shirts yourself, or buy tube-yarn or felted cord. The last you can get
at Etsy (handmade) or as industrial grade felt i.e. at Filtmaatschappij Rotterdam (this is where Christien Meindersma got hers, I think) You can also use woven (cotton) cord i.e. from the Hema.
STEP 2. making a cord. Spool-knitting the yarn
Real spool-knitting takes too long I think, so I'm resorting to fake spool-knitting, this is a method that my mum taught me. You will need 2 sock-knitting needles, so knitting needles that have two open ends. With thinner yarn you cast on 5 or maybe even 6 stitches (needles size 3,5mm), with thicker yarn you cast on 4 (needle size 5mm). The tube should eventually become approximately as wide as a finger.
 |
| casting on 5 on a sock needle |
 |
| casting on 5 on a sock needle |
it's very simple after finishing a row, you push through the needle that the loops are resting on, and you pass the yarn behind and then knit another row. This way the tube will form by itself, the loops at the extremities will look a bit looser, but as we will afterwards crochet the cord, that's not really a problem.
 |
| finished casting on |
 |
| push the needle to the left |
 |
| push the needle to the left |
 |
| push the needle all the way to the left |
 |
| now knit the next row by pulling the yarn behind the work |
 |
| now knit the next row by pulling the yarn behind the work |
 |
| now knit the next row by pulling the yarn behind the work |
 |
| now knit the next row by pulling the yarn behind the work |
 |
| here you can see how the yarn is pulled behind the work. |
 |
| finish the next row |
you can either roll-up the cord or you can crochet as you go along.
STEP 3. crochet the pouf
To crochet the pouf you first crochet a spiral circle increasing stitches, then you crochet appx. 3 rounds straight, and then you crochet another spiral where you decrease stitches. I crochet simply using my fingers because I think it's too much hassle trying to find a crochet-needle in the right size. You would probably need 15-20mm crochet needle if you want to use a needle. It's important that you crochet very tight, because afterwards you will fill the pouf, and if the work isn't tight then gaps in the work will appear, and that is not pretty.


When you crochet, a loop to crochet into always has 2 chains, I crochet into only one of them and the one to the back, this is because I like the pattern this creates, you get a thin line of chains that run around the pouf. It's also possible to crochet into both chains, then you will end-up using a little more yarn.
Rnd1; make a loop, then chain 2, then 6sc into the 2nd loop from the hook, a bit tricky. This makes the first tiny round.
Rnd2: 2sc into all 6 loops: 12 sc
rnd 3-10; inc. 6 sc evenly spaced: 60 sc.
rnd 11-12 (or 13, 14 depending on how tall you want the pouf); work even in sc.
rnd 13-22; dec 6 sc evenly spaced; 6 sc.
depending on how much yarn you have or how big you want your pouf, you decide how big you make the spiral. My biggest pouf, the light-grey one had 60 sc at it's max. The smallest, the dark brown had 48sc at it's max.


STEP 4. fill the pouf.
before you crochet the last 3 rounds you should fill the pouf. I have used old duvets to fill mine, you can also use cushions or you can crochet around an old second hand pouf. Also sometimes if you are lucky you can found pouf fillings i.e. at the Ikea. I don't recommend to work with fiber-filling, it's too loose. or you will need to work it into a sack/cushion before filling the pouf.
Helt vidt flot Hanne. Jeg kunne enormt godt tænke mig sådan en, men HEEEEEEEEEEEELT ærligt sikke et arbejde. Mon ikke man kunne få lavet en i Kina :-)
ReplyDeletejo, maaske. man kan ogsaa koebe en strikkelise maskine med en slags haandsving.
ReplyDeletemen det er jo meditation for mig (afstresning) saa det goer ikke noget at det tager laenge.
amazing :D! could u make a toturial on this? :( i dont know how to do it.
ReplyDeletehi Anikorn, do you mean a video-tutorial? I have never done that before, but maybe I should give it a try.
DeleteThis comment has been removed by the author.
ReplyDelete